
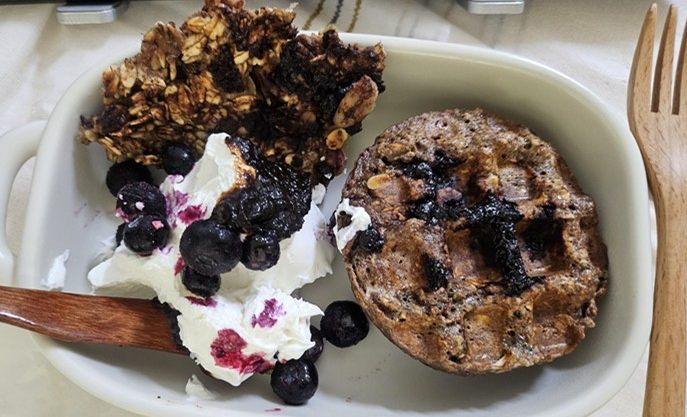
In the previous post, I shared how to make simple sauerkraut at home. Also mentioned about benefit of cooking at home. Today, I want to revisit another classic fermentation project — homemade yogurt. During the pandemic, many people started making yogurt in their kitchens, and the method I use is surprisingly easy and low-maintenance. It requires only two ingredients: milk and a yogurt starter.
When I say “starter,” I really mean any plain yogurt that contains live active cultures. A small cup of thick, unsweetened yogurt works perfectly. And just like with any homemade food, making yogurt yourself gives you something store-bought versions can’t: freshness, control, and intention. You know exactly what goes into it, there are no unnecessary additives, and the flavor is cleaner and more comforting. Plus, the act of heating, waiting, and straining has a calming rhythm to it — a small reminder that simple routines can bring real nourishment, not just to your body but to your day.
How to Make Yogurt at Home
Ingredients
- 2 liters of milk
- 1 small yogurt (about 180 ml) with live cultures
- Flavored yogurt makes flavored yogurt; plain yogurt makes simple, clean yogurt.
Step 1: Bring the Milk to Room Temperature
Leave the milk out for about 30 minutes so it’s not too cold.
When the milk is slightly warm (not hot), mix in the yogurt starter.
Step 2: The Surprisingly Easy Heating Method
I used to boil hot water and keep the container warm, or even use a yogurt maker.
But recently, I found a much simpler method — using the microwave as a warm incubation space.
Here’s what I do:
- Pour the milk and yogurt mixture into a plastic container.
- Place it in the microwave.
- Heat for 5 minutes, OR do 3 minutes + 3 minutes so it doesn’t get too hot.
- After heating, do not open the microwave door.
The warm enclosed space becomes a perfect incubator.
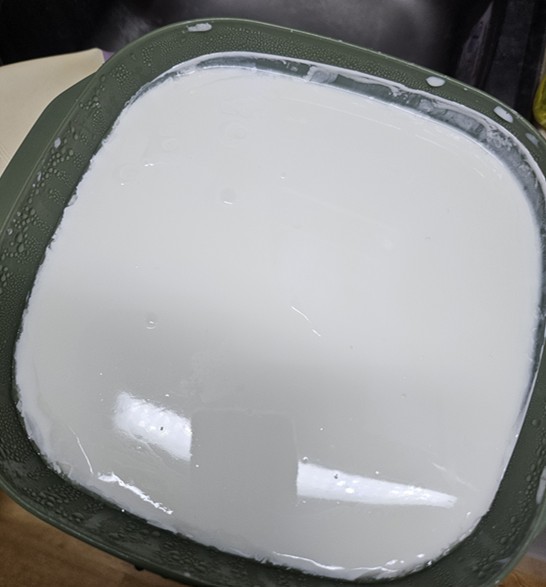
By the next morning (after 8–10 hours), you’ll see the mixture has thickened into a soft mass.(Like below picture)
That means it has successfully turned into yogurt.
It almost always works — though very occasionally it fails. When that happens, I reheat and try one more time. If it still doesn’t set, I simply discard it and start over.
Step 3: Optional — Make Greek Yogurt
I love thick, creamy Greek yogurt, so I strain mine.
You don’t need any fancy equipment:
- Line a strainer with a cotton cloth or cheesecloth.
- Pour the yogurt in.
- Let the whey drip out naturally.
If you want it extra thick, place a heavy bottle of water or even a dumbbell on top to speed up the draining.
A few hours later, you’ll have rich, dense Greek yogurt.
Store it in a small container in the fridge and enjoy throughout the week.
Why I Enjoy Making Yogurt
Maybe it’s because I made it myself, but I always feel like homemade yogurt tastes better.
It also requires almost no effort — I check on it only once or twice.
I make yogurt about once a week, and the simple ritual gives me space to slow down and reset.
Especially on weekends when I’m home alone, making yogurt, cooking slowly, or preparing something with my hands helps me focus on myself rather than on work or outside noise.
There’s something grounding about watching a few simple ingredients transform over time — it reminds me that good things don’t have to be rushed.
And unlike store-bought versions, homemade yogurt feels cleaner, fresher, and more honest, almost like nourishment for both my body and my mood.
What’s Next?
In the next post, I’ll share how I make:
- homemade kombucha,
- simple pickles, or
- my recent baking experiments — sourdough and baguettes.
Stay tuned for the next chapter of the Mindful Fermentation Series.